
Your connector settings are the gate through which automated external data enters your workspace. Found at Settings > Connectors, this page is the CyberHQ side of your integration with CyberHQ Connect. It holds the credentials that authorise the two platforms to talk to each other, and it determines what Connect can see and where incoming data is allowed to land. Understanding this page helps you keep your automated data flowing and troubleshoot it if the link is ever interrupted. This article gives you an overview of what the page does; the step-by-step for first-time setup lives in a dedicated how-to.

Connect Organization ID
The Connect Organization ID field identifies which Connect organisation your workspace is paired with. You copy this identifier from your organisation in Connect and paste it here, so CyberHQ knows which Connect environment to trust. Without a matching Organization ID, the two platforms cannot recognise each other and no data can flow.
Connector Token
The Connector Token is the private key that authorises the connection. You generate it in Connect's Token Manager and paste it into this field, then click Save to complete the link. Because the token grants access, treat it like a password. It is shown only once when created, so if it is lost or you need to rotate it, you generate a new token in Connect and re-save it here.
[NOTE: Keep your Connector Token secure. If the connection ever stops working because a token was lost or revoked, create a new token in Connect and paste it back into this page to restore the link.]
What linking enables
Once your Organization ID and token are saved, the Connectors page is what makes two things possible across the platforms:
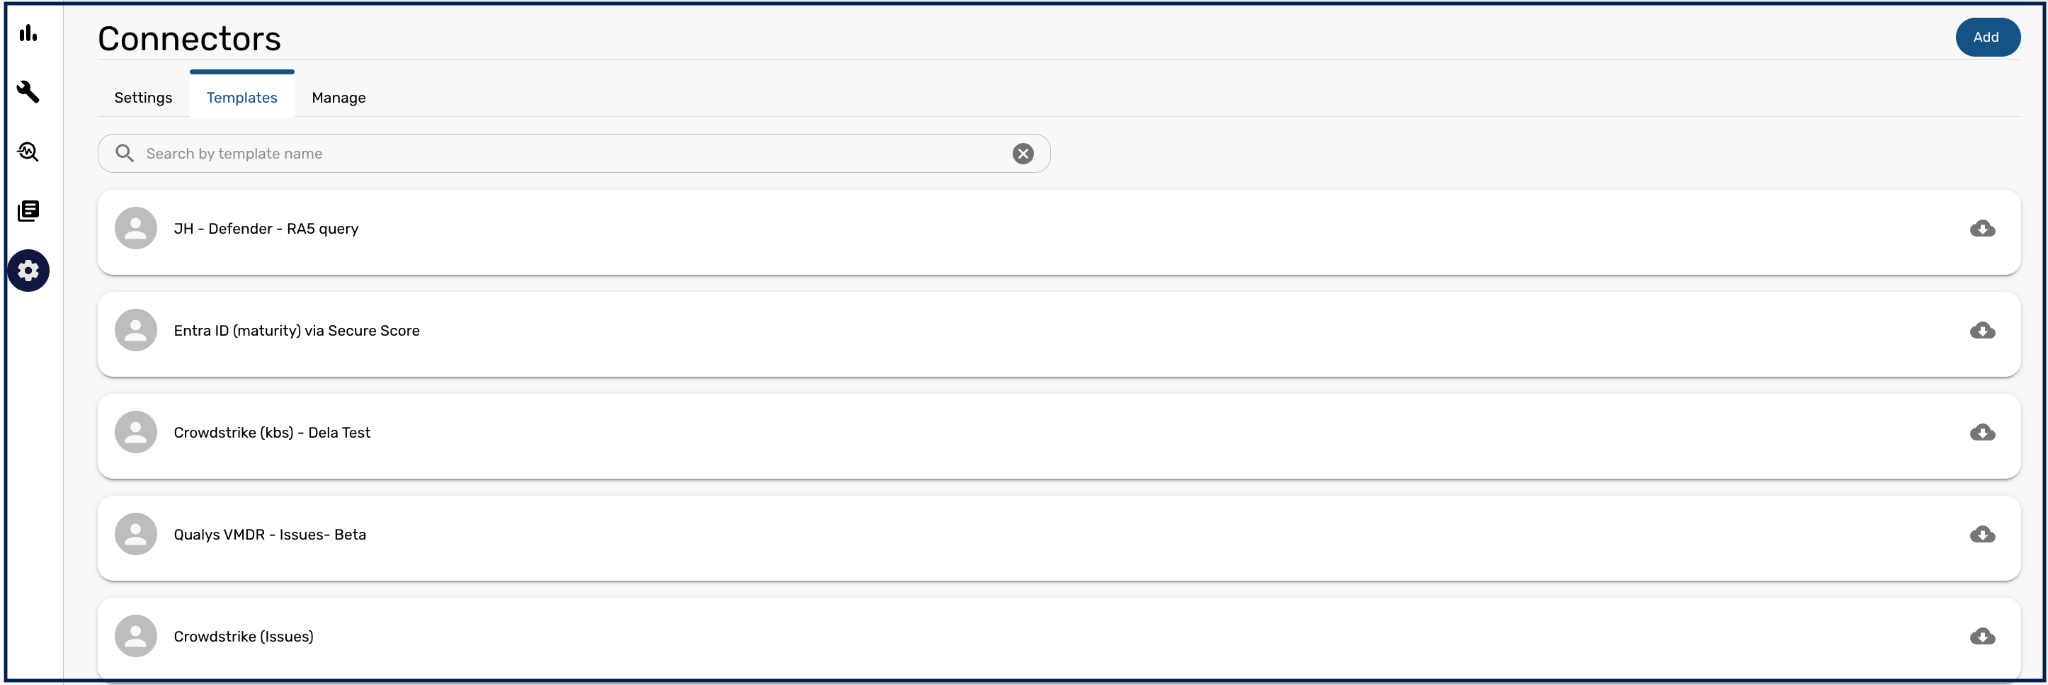
First, any externally available templates you build in Connect become visible within your Templates settings in CyberHQ, ready to use. Second, the data models (schemas) of your CyberHQ modules are shared with Connect, where they appear as Models marked with a 'C'. This shared understanding of your modules is what allows a connector to map incoming data, such as issues from Jira or vulnerabilities from a scanner, into the correct place in your workspace automatically.
Your connector settings are where the CyberHQ end of the integration is established and maintained. To set the link up for the first time, follow How to Link CyberHQ Connect to CyberHQ. For a broader understanding of how automated data ingestion works, see the CyberHQ Connect Overview. With this page configured, your workspace can receive live data from your external tools and keep your assessments, risk scores, and reports continuously up to date.