
With your account created and Connect linked to CyberHQ, you are ready to stand up your first connector, an automation that pulls data from one of your external tools into a CyberHQ module. The quickest way to get a working connector is to start from one of Connect's pre-built templates, which already contain the structure and data mapping for popular tools such as Jira, ServiceNow, Crowdstrike, AWS Security Hub, Azure Microsoft Defender, and Upguard. This article walks through that template-based path at a high level. The exact credentials and fields for each tool are documented in the Connector Documentation section.
- Confirm Connect is linked to your CyberHQ workspace. If you have not done this yet, complete How to Link CyberHQ Connect to CyberHQ first, as the connector needs this link to know where to send data.
- Identify the tool you want to bring data from, and open its guide in the Connector Documentation section to confirm what you will need. This is typically an account on the source system and an API token or key generated there.
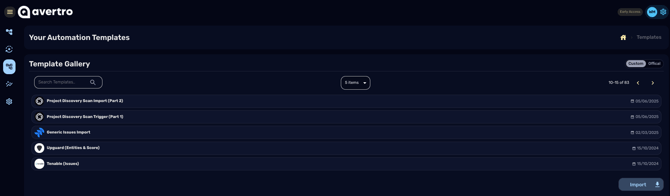
- In Connect, create a new automation from the matching template, or create a blank automation and add the HTTP node, to begin building the connector.
- Add your credentials so Connect can authenticate to the source system. For most tools this means enabling Advanced Authorization on the relevant node and entering the username and API token you generated. Follow the per-tool guide for the exact values.
- Map the incoming data to the correct CyberHQ module using the imported Models, so that records land in the right place, for example Jira tickets flowing into your Issues Register.
- Test the automation to make sure it runs correctly. A green success pop-up confirms the node ran and data was retrieved.
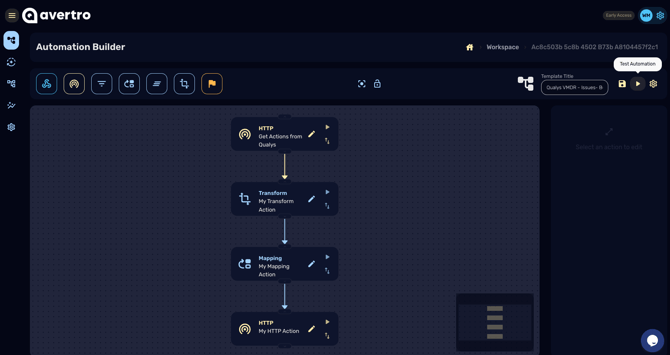
- Set the automation to run on a schedule so your data refreshes automatically rather than only when you run it manually. See Running Automations on a Schedule for details.
- Check the relevant CyberHQ module to confirm your records have arrived as expected.
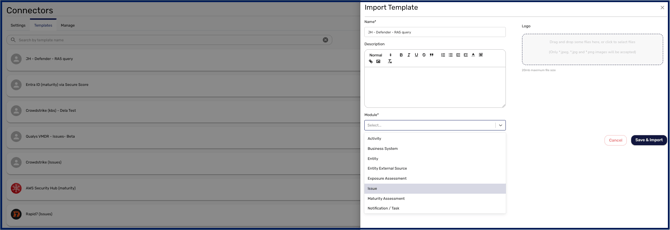
Each connector has tool-specific setup, including URLs, tokens, pagination, and field mapping, that is documented per tool in the Connector Documentation section. For guidance on building and customising your own connectors beyond the templates, see Connect - Connector Builder Overview and Connect - Best Practices for Building Connectors.
Once your first connector is live and scheduled, data from your external tool flows into CyberHQ continuously, keeping your assessments, risk calculations, and reports up to date automatically. From here you can repeat the process for your other tools, building out a fully automated data pipeline into your workspace.