
CyberHQ Connect is a separate application with its own login, the first step to automating your data is creating an account and bringing in the colleagues who will build and manage your connectors. Setting up your organisation's users with the right level of access early means the right people can create automations and authorise the link to CyberHQ, while everyone else has only the access they need. This article covers creating your account, managing the users in your organisation, and updating your own settings.
Creating your account
- On the login page, click Don't have an account?.
- On the account creation page, either enter your email address, or choose Continue with Google or Continue with Microsoft to use single sign-on.
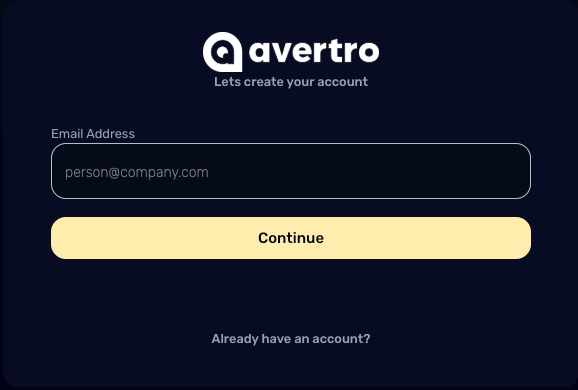
- If you signed up with an email address, open the confirmation email Connect sends you and follow the link to complete your account setup. If you chose Google or Microsoft, sign in with that account when prompted.
- Once your account is created, you can log in at any time using your email and password, or your Google or Microsoft account.
Inviting users to your organisation
Adding your colleagues to your Connect organisation lets them collaborate on automations within the same shared environment.
- In the navigation menu, go to Settings and select Organization.
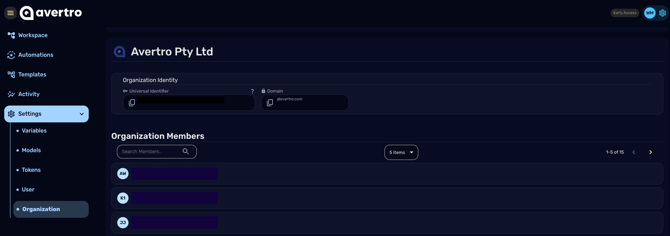
- Under Organization Members, click Invite User.
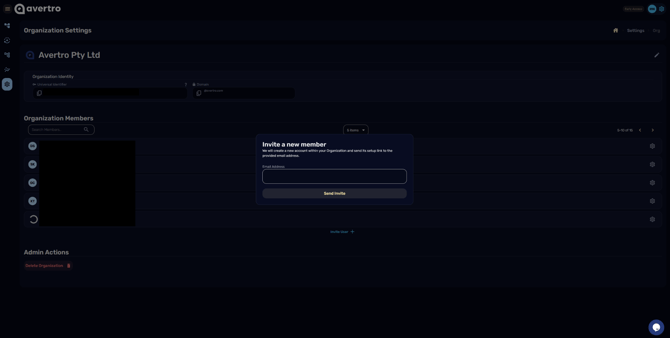
- Enter the email address of the person you want to add. Connect emails them a link to complete their onboarding.
Users who have been invited but have not yet finished onboarding appear with a loading symbol next to their name under Organization Members, so you can easily see who still needs to accept.
Removing users
- Click the cog icon next to the user you want to remove.
- Choose Remove User and follow the prompts to confirm.
Granting Administrator privileges
Administrators can manage the organisation's members and settings, including generating the token used to link Connect to CyberHQ, so grant this role only to the people who need it.
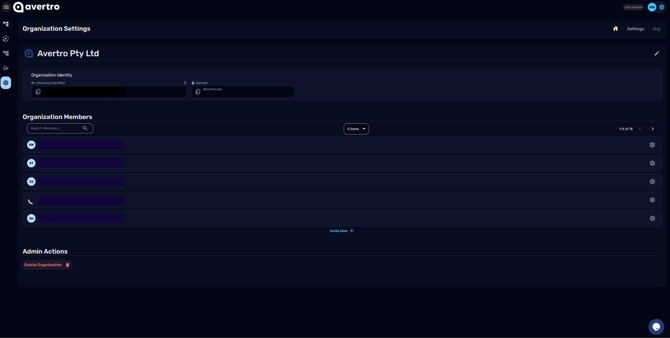
- Click the cog icon next to the user you want to update.
- Select the checkbox next to Administrator and click Continue in the pop-up. To remove the privilege later, follow the same steps and uncheck the box.
Updating your own user settings
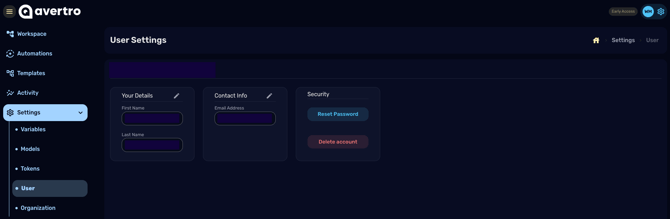
To manage your personal details, go to Settings and select User. On this page you can:
- Update your First Name and Last Name.
- Update your Email Address.
- Reset your Password.
- Delete your Account.
With your account created and your team in place, the next step is to authorise the connection between Connect and your CyberHQ workspace, covered in How to Link CyberHQ Connect to CyberHQ.