
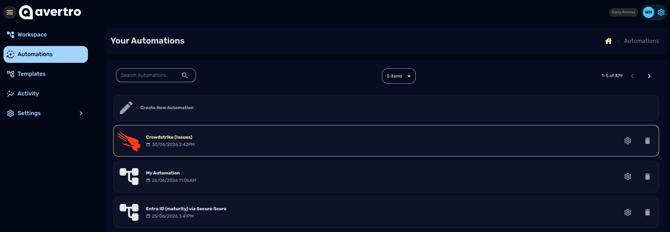
CyberHQ Connect is the automation layer that links CyberHQ to the other tools your organisation uses, so that data flows into your workspace automatically rather than being entered or uploaded by hand. Where manual entry and CSV upload capture your data at a single point in time, Connect creates a live pipeline that pulls issues, vulnerabilities, and other records from systems like Jira, AWS, ServiceNow, or Crowdstrike and feeds them into the right CyberHQ modules on an ongoing basis. This article explains why you would use Connect and walks you through the journey to getting it set up.
Why use CyberHQ Connect
Connect is the right choice for data that changes often, or that you want kept continuously up to date without manual effort. Because it runs automatically and on a schedule, the issues and other records in CyberHQ stay current with their source systems, so your assessments, risk scores, and reports always reflect the live state of your environment. For smaller volumes or one-off records, manual entry and CSV upload (covered in Getting Started with Importing your Data) remain the simpler options, and most teams use Connect alongside them for the data they want kept live.
How Connect works with CyberHQ
Connect is a separate application with its own account and login, which you authorise to talk to your CyberHQ workspace through a secure, one-time link. Once that link is in place, two things happen automatically. Any externally available templates you build in Connect become visible inside CyberHQ, and the data models (schemas) of your CyberHQ modules are imported into Connect so your automations know exactly which fields to map data into. This shared understanding of your modules is what allows a connector to drop a Jira ticket into your Issues Register, or a vulnerability into the right place, with no manual mapping each time.
Your setup journey
Getting Connect running follows three short steps, each covered by its own article in this section. First you create your Connect account and bring in your team in How to Set Up your Connect Account and Users. Then you authorise the link between the two platforms in How to Link CyberHQ Connect to CyberHQ. Finally you stand up your first integration in How to Set Up your First Connector. For a deeper look at how automations, nodes, and templates work once you are up and running, see the CyberHQ Connect Overview and related articles in the CyberHQ Connect section.
By the end of this section you will have a Connect account linked to your workspace and a first connector feeding live data into CyberHQ, which is the foundation for keeping your platform continuously and automatically up to date.